Camera Controls and Se...

Using ISO Settings With Nikon D90

We have already discussed about ISO and its pros and cons in my previous blog. Now, lets discuss about the ISO settings for Nikon D90. There is no doubt that Nikon D90 is a very powerful and semi-pro DSLR camera and also one of the first DSLR which records HQ video with sounds. Today, I am not going to discuss about the movie feature and save that topic for the future discussion. D90 is also considered as one of the best camera to capture variety of rich colors in if you handle the exposure correctly. We know that Shutter Speed, Aperture and ISO are the three main fundamentals (also called an exposure triangle) to control your exposure settings. We also discussed about the exposure compensation using different techniques like exposure lock, bracketing etc and we will discuss more about the proper combination of shutter speed and aperture for proper exposure in our future posts. But for now, lets discuss about the ISO settings that affects the exposure.

ISO Sensitivity settings.png

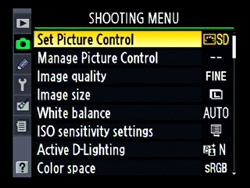
When you press the Menu button at the left panel on the back of your camera, you will get few menu options. Please click on the Shooting Menu (camera icon) where you will find ISO sensitivity settings option. When you go inside that option, there are mainly two things to be considered, one is ISO Sensitivity which is available with all exposure modes and another one is ISO Sensitivity Auto Control which is available in PAS modes only.

ISO Sensitivity option allows you to specify the ISO settings. It's a same thing as you press the ISO button on the back of your D90 and rotate main command dial. In Nikon D90, ISO can be set to AUTO which lets camera pick ISO value automatically as necessary or you can also manually set any value that ranges from LO 1 (equivalent to ISO 100) through 3200 to HI 1 (equivalent to ISO 6400). ISO Sensitivity Auto Control menu lets you specify how and when your camera will adjust the ISO value automatically under different lighting conditions. When Auto ISO is activated, the camera set ISO value whenever it's necessary if current ISO settings won't allow you for optimal exposure. There are three main features to be considered when you enable ISO sensitivity auto control option. Here is the brief discussion about them.

1.  ISO sensitivity auto Control ON/OFF

This button will let you set the ISO sensitivity auto control ON or OFF. If it's OFF, it will prevent the camera from changing the ISO value automatically. If you turn this feature off, you have to increase or decrease the ISO value manually to compensate the exposure.

2. Maximum Sensitivity

This option is used to set the highest ISO value your camera can set automatically before it starts lowering the shutter speed to get the proper exposure.

3. Minimum shutter speed

This setting allows you to set D90 how slow the shutter speed can be before ISO is boosted up by camera automatically to higher value to get proper exposure. Default value is 1/30th of the second and it's not recommended most of the time to set shutter speed below that unless you are using tripod. If you are using telephoto lens, you might want to set the Minimum shutter speed to 1/250th of the second and if you are using wide angle lens for landscape, you might want to set below 1/30th of the second.

Understanding ISO In Digital Photography

ISO is one of the three pillars of the photography along with the shutter speed and the aperture. When we are talking about the camera with digital censor, ISO refers to the amount of amplification of the signal. It affects the exposure of the image by affecting the shutter speed and the aperture combination used in camera. ISO value indicates the camera's image censor's sensitivity to the light and gives us an idea of how sensitive the image sensor is to the light. High ISO value means image sensor is more sensitive to the light and similarly, low ISO value means sensor is less sensitive to the light. You can take pictures in a low-light condition when the ISO value is set to high in your camera. But at the same time, setting up high ISO value also introduces the digital noise in the picture because when we increase ISO value, artificial electric gain is added to the signal to provide more lights into the image. It's not coming from the natural light source but the light is being produced artificially and amplified by the camera using the signal booster.

When the ISO is set to Auto, camera’s metering system will automatically detect the light condition and increase or decrease the ISO value as needed. If you are using your camera into semi-manual mode or Manual mode (M), you can also manually set the ISO value to adjust the proper exposure under different lighting condition. Higher ISO value allows you to set the faster shutter speed so that you can freeze the motion when your aperture couldn't be more wider to allow more lights into the sensor. But you also have to consider the noise factor when increasing the ISO after certain value. Some cameras specially consumer level DSLRs are highly susceptible to the noise with higher ISO value whereas full frame cameras can take much higher ISO value without producing noticeable noise in the picture. When you have enough lights available, you should use lower ISO value and adjust the proper exposure using the combination of faster shutter and wide open aperture (smaller f value). Increasing or decreasing ISO value by double (from 200 to 400, 400 to 800 etc or reverse) is same as increasing or decreasing the exposure by one f-stop.

ISO-800.jpg

Focal Length - 50mm     Aperture - f/1.8     Exposure - 1/1.3 sec     ISO - 800

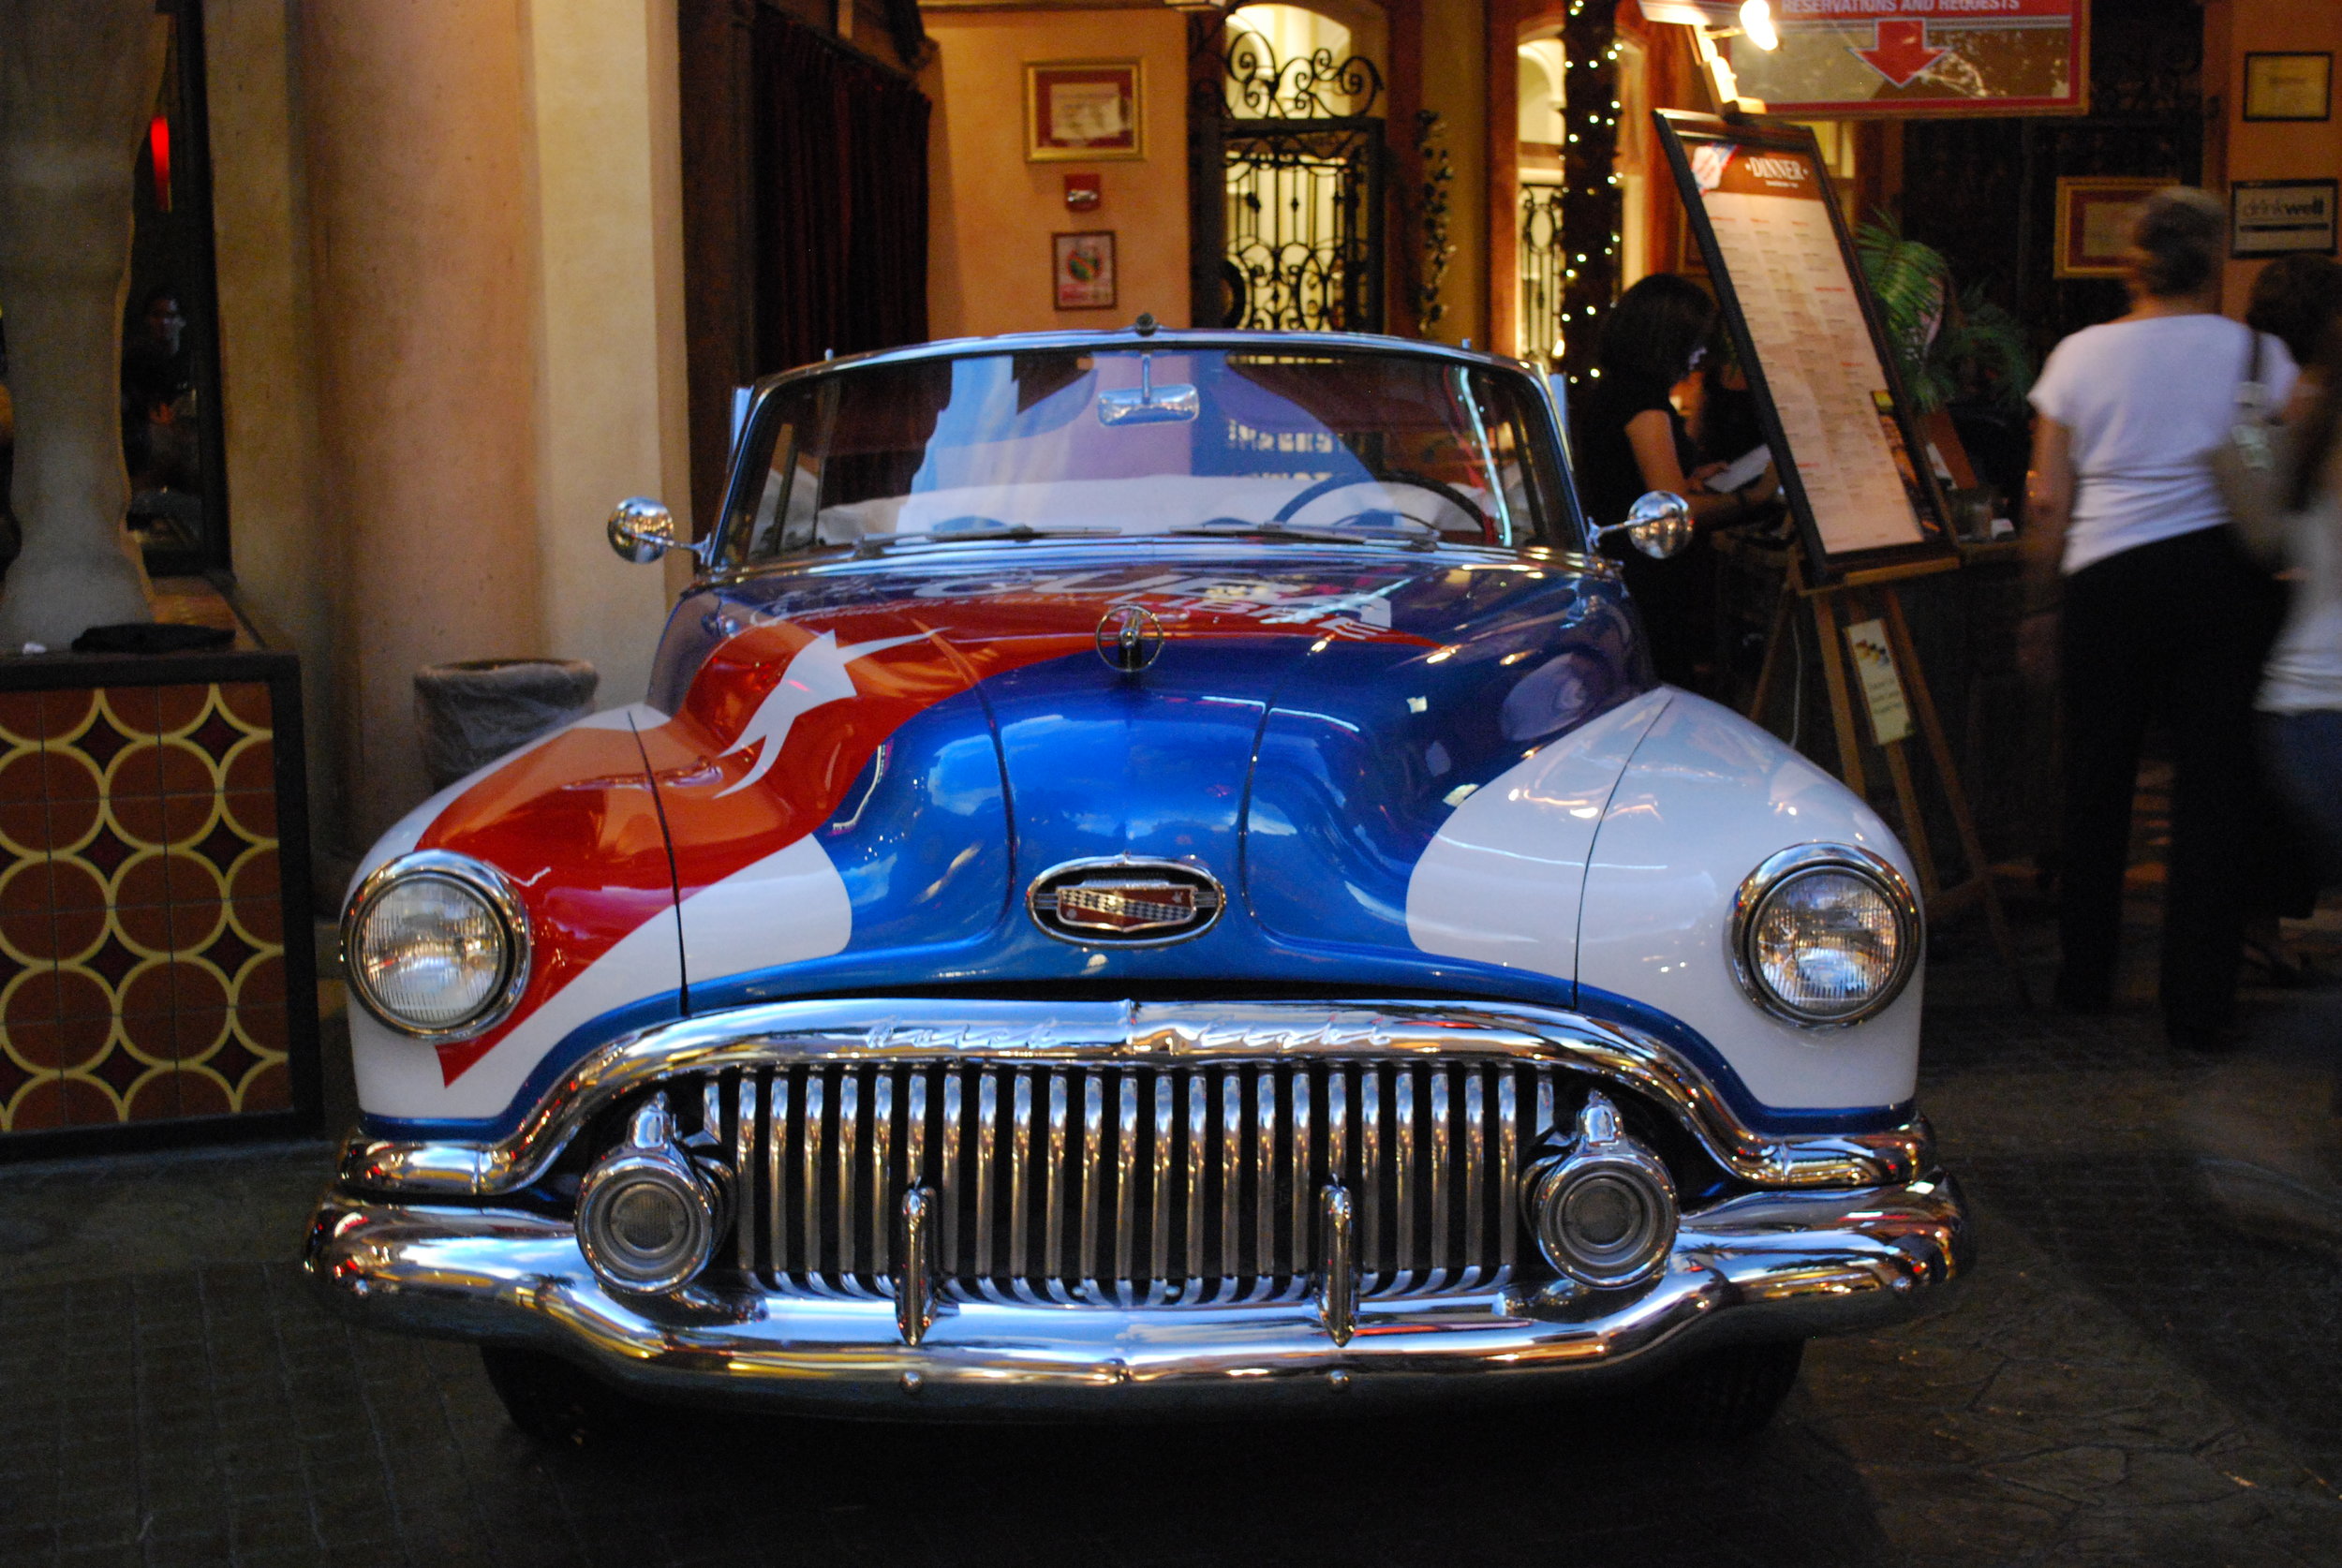
All of these pictures are taken in an Aperture Priority (A) mode with f/1.8 aperture and only changing the ISO value. The first picture was taken with ISO 800 and the camera adjusted the shutter speed to 0.769 seconds automatically to balance the exposure. This picture is almost noise free and much more cleaner than the second shot where the ISO was bumped to 6400 and then the camera accordingly adjusted the shutter speed to 0.0769 seconds to adjust the exposure. By increasing ISO value, I was able to shoot with much faster shutter speed but it produced the noise in the picture as well.

ISO-6400.jpg

Focal Length - 50mm     Aperture - f/1.8     Exposure - 1/13 sec     ISO - 6400

I cropped the corner area of the second image to demonstrate the digital noise in the picture. If you look at the picture below more closely, you can clearly see the grainy noise all over the picture introduced by high ISO.

ISO-6400-CROP.jpg

Focal Length - 50mm     Aperture - f/1.8     Exposure - 1/13 sec     ISO - 6400

Using higher ISO value allows your camera sensor to capture images at very low light condition but also produces noises (grains) in the picture. You won't probably notice it in a small size picture but if you enlarge the image, you can easily notice the effects of high ISO vs low ISO. It is always good practice to shoot with lower ISO value possible and increase it if you cannot get more lights by adjusting the Shutter speed and the Aperture value. But with more and more innovation everyday, modern DSLR cameras produce acceptable pictures quality even at higher ISO.

If you are looking for Nikon D90 specific ISO settings, please click here.

RAW Vs JPEG Picture Format

RAW files are the exact representation of your subject captured by the camera sensor without any modification. RAW format retains more detail information about the picture and camera setting which you can adjust later during post-processing. Every camera manufacturer has their own proprietary format to store RAW files. Nikon uses NEF format to store RAW files and Canon uses CRW into older camera models and CR2 into newer models. Usually, RAW format stores information into 12 to 16 bit data. Camera always captures the data into RAW format first and if you are using JPEG mode, camera processes it using built-in algorithm to handle the white balance, contrast, saturation, sharpness and other settings that is set into your camera and compresses it into JPEG format to produce a 8 bit of data (JPEG) file. That means you will loose some details during the compression, which is pretty obvious given the reduction of information. I once read Ken Rockwell's comment about shooting in RAW mode where he says and I quote, "I never shoot RAW. Why would I? Raw is a waste of time and space, and doesn't look any better than JPG even when you can open the files". Later he added, "Cameras all start with raw data and convert this data to JPG images with hardware in the camera. They then throw away the raw data since it's no longer needed. Some fancier cameras save this raw data so you can use software to do the same thing the camera's hardware did, later".

In my view, shooting in either RAW format or JPEG format is your personal choice but the only difference is, if you shoot RAW, you have the flexibility to adjust settings later on the computer but in case of JPEG format, camera already did that job for you and you have to trust it’s algorithm for your final image since there is very less room left for further adjustment due to the loss of data. It is up to you whether you want to spend your money on getting software and use your time for further processing of your image on the computer or let your camera do that job for you. RAW mode is designed for someone who wants to do experiment with the photograph by applying different settings during editing. And if you are a professional wedding photographer for example, shooting in a RAW mode might be a no-brainer. You can't re-shoot the wedding once its done. And if you need to adjust something later on the picture without loosing details, you can do so with a greater flexibility if you shoot in a RAW mode. One thing you might want to consider while shooting in a RAW format is a memory. As we discussed earlier, RAW file uses 16 bit data format compare to the 8 bit format for JPEG file. RAW format takes almost double the size of JPEG format. If you are shooting all day event (using RAW format) capturing hundreds of photos, you might have to consider the memory size of your camera as well. It is always a good idea to carry an extra memory in your camera bag but if you are shooting in a RAW mode, that might become a necessity.

In my opinion, if you are smart enough to use a post-processing software for editing pictures, it is a good idea to shoot in a RAW format. But if you are not confident enough on using computer software to edit the pictures, it's better to believe in your camera and let it process for you. If you really want to see the differences between two formats, you can also use RAW+JPEG mode (most of the modern DSLR camera supports dual mode) which saves both files; one in JPEG format and another in RAW format. And later, you can try processing both formats using software and see the difference yourself. Reminder - since it keeps both file formats of the same image into your camera memory, you will have to be more careful about the memory space.

Personally, I shoot JPEG Fine for the most of the friends and family events. But I also shoot RAW when I do night cityscapes, fireworks or landscape photography and use Nikon Capture NX2 for post-processing. Please feel free to share your experience and tell us about views on shooting RAW Vs. JPEG.

Update : I switched from Capture NX2 to Adobe Lightroom in 2017