Andy (Colorado, USA) asked: I want to buy my first DSLR and I am struggling to make a decision on whether to get a DX model or a FX model? Are there any advantages or disadvantages of getting one over another?
Andy, when I bought my first DSLR in 2010, I didn't know anything about the DX models or the FX models. Let alone the details of different models, I didn't even know about the existence of those models. But nowadays, due to many wonderful photography blogs and magazines, we have much more detail information about the different brands of camera, different models and their functionality, which is really a good thing so that the buyers can make an educated decision.
Buying the first DSLR is always exciting and yet very confusing task. We get easily confused on which brand to consider as our first DSLR. Some of your friend might say that the camera they are shooting with, whether it is a Nikon or a Cannon or a Sony or any other brand, is the best brand which makes your brand selection job even tougher. But once you get your mind set on the brand you are getting, next question you will encounter is which model should you get? At the beginning and specially if you are trying photography as a hobby, you might want to get an entry level and relatively cheaper DSLR camera and in that case, decision is relatively easier. But if the budget is not an issue and you are considering photography as a serious hobby and then later turn it into a profession, you might want to get a decent DSLR and that's when our discussion of DX vs FX might come handy.
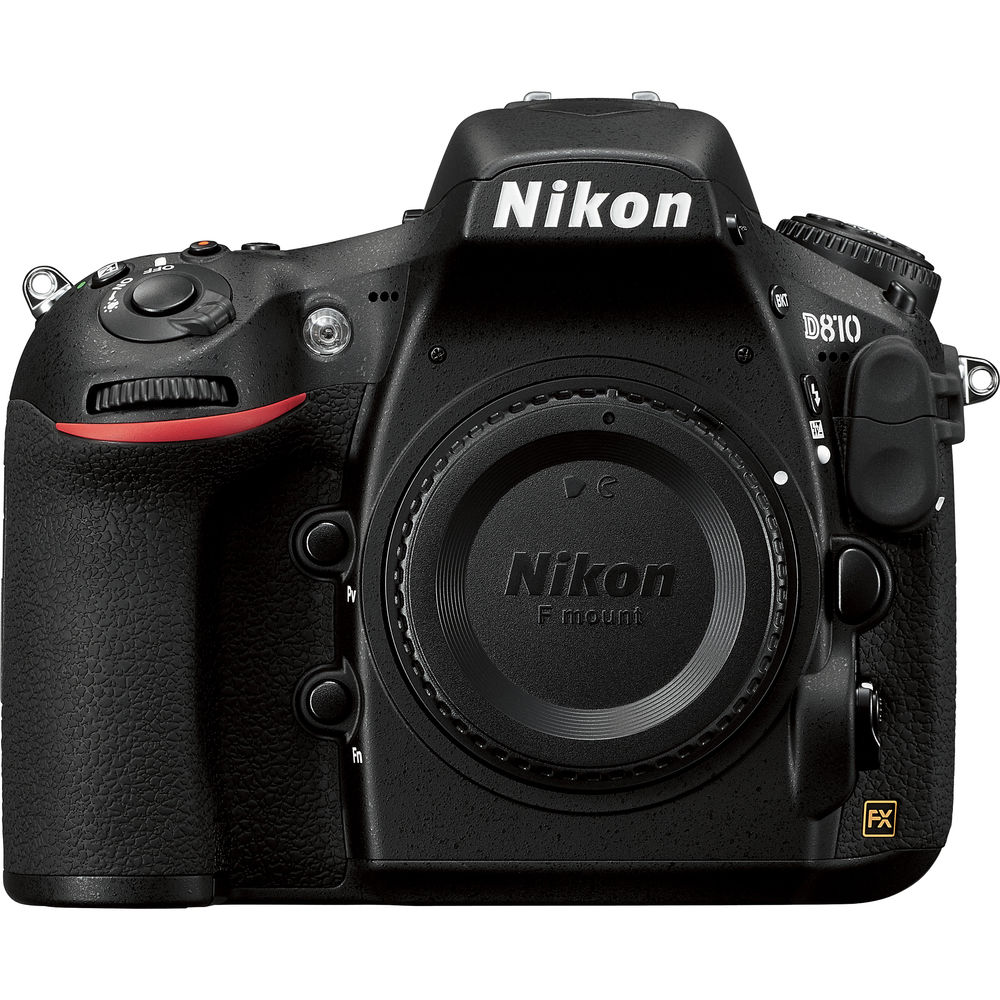
The first and the most important thing you have to remember while selecting the DX or the FX model is, they differ by their sensor size. The DX models have a smaller sensor or also referred as a APS-C censor which is approximately 24x16mm whereas, the FX models have a larger sensor and also called a full frame (same as 35mm film format) sensor which is 36x24mm. If you are a beginner, DX models might serve you well but if you are looking to upgrade to more "serious" camera, you have to go to full-frame because most of the DX line-up are aimed to let you introduce into the photography world but lacks many pro-level features and specs. But it is also true that with the change of technology and the competition among different brands, DX models are also getting close towards being professional camera if you get the top of the line DX model, Nikon D500 for example. Nikon D500 is the most expensive DX-format DSLR within Nikon brand and it comes with many pro-level features. In fact, many professional photographers have started using this camera as a main or backup camera because of it's light weight and other pro level features.
DX camera bodies are relatively smaller and lightweight than FX bodies and built quality is little bit compromised with the high quality plastic vs aluminum on FX bodies. Usually, DX-format lenses are more compact because the image circle that they need to produce only needs to cover the smaller sensor area compared to that of full frame camera. This makes DX camera bodies an ideal choice if you want to travel with lightweight camera and lenses. Another advantage of DX camera is that you get an extra reach on the lenses because of it's 1.5x crop factor on the sensor. If you use 70-200mm f/2.8 lens on DX bodies, it gives you an effective focal length of 105-300mm but it won't help you to get the shallower depth of field because depth of field depends on "actual" focal length rather than "effective" focal length.
But in FX camera sensor, for any given pixel count, the photo-diodes will be larger than those on a DX sensor and that is the reason FX camera can produce cleaner images when shooting in a low light condition using higher ISO. The latest high megapixels FX camera bodies have an additional advantage of more pixels packed into the sensor to capture more details although it might produce little noisier picture at higher ISO.
In my opinion, which came from my own personal experience, if you are just starting out, you may want to get a decent DX model DSLR so that you can understand how does your camera work and also get to know about the different controls and the features of the camera and then later upgrade it to the FX model. By doing so, you can discover pros and cons of both sides and decide which fits best for your work. Good luck!


