Shutter Speed

An Experiment With Splash Photography

I got a request from one of the readers to write something about splash photography which I have never tried before. As soon as I got the request, I thought why not I try myself and share my experience with my readers. And today, I setup everything I can think of for splash photography and took several shots. Today's experiment gave me an idea of splash photography being more about precision, practice and patience. I shot five or six photos before splashing a cube of ice into a glass just to make sure that I have a good light condition. I have attached one of the photographs I took today. Let me explain what I did to get this shot. It is not a great shot but since it is my first time, I am happy with it.

Splash Photography

Splash Photography

Equipment Setup

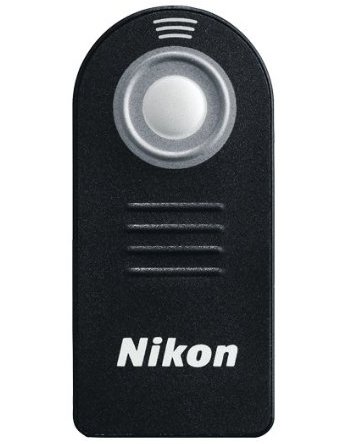
First I thought of putting three white cards around the glass to bounce the light. I tried that setup but it didn't give me a natural looking feeling. I wanted to do something natural and yet look exciting. Then I removed those cards and placed a glass on the table in a natural light environment and adjusted my exposure settings accordingly. I shot this picture in a Shutter priority mode because my main concern was to freeze the motion of water or liquid that will splash out when something is dropped into it. I tested different shutter speed and settled with 1/2500th of seconds. I used an external flash SB-600 to compensate the exposure with the high shutter speed. Keep in mind that you have to enable Auto FP feature in your DSLR camera to work with higher shutter speed than camera's sync speed. I used Nikon's wired shutter release cable and set my camera on a tripod to make it stable. I dropped a cube of ice myself and press the shutter release button with the other hand. Having two hands work together side by side confused me little bit for few shots. If possible, I recommend having an assistant to drop the ice on the water and you concentrate on getting a shot.

Taking a shot

When everything is setup, I dropped the ice from one hand and click the shutter button using other hand. I had already framed my shot and since everything is fixed, I don't have to see through the viewfinder to take my shot. That made my job little bit easy to synchronize the timing between dropping the ice on the glass and take a shot. I failed multiple times and finally got this shot which is something closer to what I like.

Summary

  1. Setup your DSLR camera on a tripod.

  2. I recommend shooting in a shutter priority mode and use the camera shutter speed fast enough to freeze the motion of splash. I used 1/2500th of sec.

  3. Frame your photograph in advance and don’t bother to look through viewfinder while taking a shot.

  4. Use wired or wireless shutter release button for a smooth operation.

  5. Use White or gray card to balance the flash if you like and you may want to use one of the external flash unit to give enough light for handling faster shutter speed.

  6. Count the dropping of your ice and click the button exactly when ice falls into ice. You may want to experiment little bit on timing to get a proper shot.

Like I already said, splash photography is more of practice, patience and precision between two actions. You will have to practice a lot to get a perfect shot. This is my first time and I didn't expect to get a great shot but what I got above is something to assure myself that I am going into the right direction.

Lincoln Memorial Reflecting Pool

I took this picture of Reflecting Pool, which is located in between the Washington Monument and the Lincoln Memorial, last year. If I remember correctly, it was a cherry blossoms festivals 2010 and hundreds of thousands of tourists from around the world traveled to DC to see the beautiful cherry trees blooming to its peak around the Tidal Basin. At first, I was thinking to drive down there but a friend of mine suggested me to take a metro instead. So, I drove down to the nearest metro station, parked there and took a metro going towards the Smithsonian metro station. I am so glad that I took his advice and took a metro. It took me almost 30 minutes driving around a metro station parking lot to find a parking spot. Inside the metro station, I was overwhelmed by the crowd and then immediately got worried about the camera gears I was carrying with me. I had a heavy camera bag along with a tripod bag and it was getting very difficult for me to manage the space inside the metro. Somehow, I managed to get off at Smithsonian metro station after one and half hour, and then to my surprise, I saw the biggest crowd in DC ever. I was not able to walk on my own, the crowd was moving me and I was going wherever it would take me. When I reached the National mall, I got a little bit of a relief and got chance to breathe some fresh air but the crowd was still growing bigger and bigger.

You can also see crowds in the photograph below, which I took from the stairs of the Lincoln Memorial facing towards the Washington Monument. It was a beautiful scenery around the mall with all the green trees and the colorful dresses. The entire surrounding was joyful with happy faces and the whole environment was very encouraging to capture those beautiful moments. I took quite a few shots which I will continue to share with you in my future posts.

Lincoln Memorial Reflecting Pool

Lincoln Memorial Reflecting Pool

Focal Length : 60mm     Exposure : f/9     Shutter : 1/320sec     ISO : 200

This is one of the best photographs of reflecting pool I have taken so far. After I came back home and reviewed some of the pictures I had taken, I thought it was worth all the troubles I went through that day. If you are planning to take photos around the National mall area, I suggest you to plan your travel accordingly because DC gets very busy on special events days and I learned it the hard way.

Here is the cherry blossoms shot I manage to take that day.

Cherry Blossom

Cherry Blossom

Focal Length : 90mm     Exposure : f/13    Shutter : 1/200sec     ISO : 200

Use Panning Technique To Shoot Fast Moving Subjects

Panning is the photography technique which is primarily used to show the motion of the fast moving subject. The basic idea behind the panning is to follow the moving subject with the camera as it crosses your field of view, resulting in the subject being sharp and the rest of the shot including the background image blurred. Relatively sharp subject and the blurry background gives the feeling of the movement and the speed. It’s particularly useful in capturing any fast moving subject like racing cars, running animals, cyclist etc. If you want to master the panning technique, first and most importantly, you have to follow few simple rules and then practice with a lot of patience. Do not get frustrated with some blurry subjects initially. Panning is a skill which can be learned over time but you need to experiment with many variables including your camera settings, your distance with the subject, shutter release timing etc., which we will discuss later. In order to get the good result with panning, the ideal flow would be - maintain a balanced distance with the subject, use a little slower shutter speed, follow the moving subject and pan your camera along with the subject on the same plane of the motion, take the shot and continue to pan in the same direction.

Here are few guidelines you can follow to properly apply panning technique.

1. Use the Shutter Priority Mode.

2. Start from a slower shutter speed (1/15s - 1/30s) and go up or down little bit as you need depending on the speed of the subject and the lighting conditions.

3. Shoot in a Continuous Autofocus Mode because your subject and the camera are constantly moving in proportion to each other. This way camera continuously track and focus the moving subject.

4. If your camera doesn't support autofocus, you have to judge the traveling path of the subject, determine the subject's final point for the shooting and pre-focus on that point and then take the shot.

5. Use a Continuous Shooting Mode or a Burst Mode so that you can have a multiple shots and will have the flexibility to choose the best among many shots.

6. Position yourself parallel in front of the moving subject. If you keep larger distance from the subject, it might decrease the speed of the subject in relation with you and your camera, but it also reduces the effect of panning, and the effect is often why we do the panning. So, you have to balance the distance with the subject and the speed of the panning.

7. Place your subject position fixed in your viewfinder and smoothly move your camera as the subject moves on it's track.

8. Continuously follow the track of the moving subject, take the shot and keep moving the camera as if you are taking a shot. This will create a soft transition and gives better result.

9. If you need an extra support for heavy camera and big lens, you can use a tripod which supports panning feature. It gives extra stability to minimize the motion blur on the main subject.

Panning Technique (Image Credit : AdoramaTV)

Panning Technique (Image Credit : AdoramaTV)

Exposure : 1/30 sec     Aperture : f/14.0     Focal Length : 200mm     ISO : 100

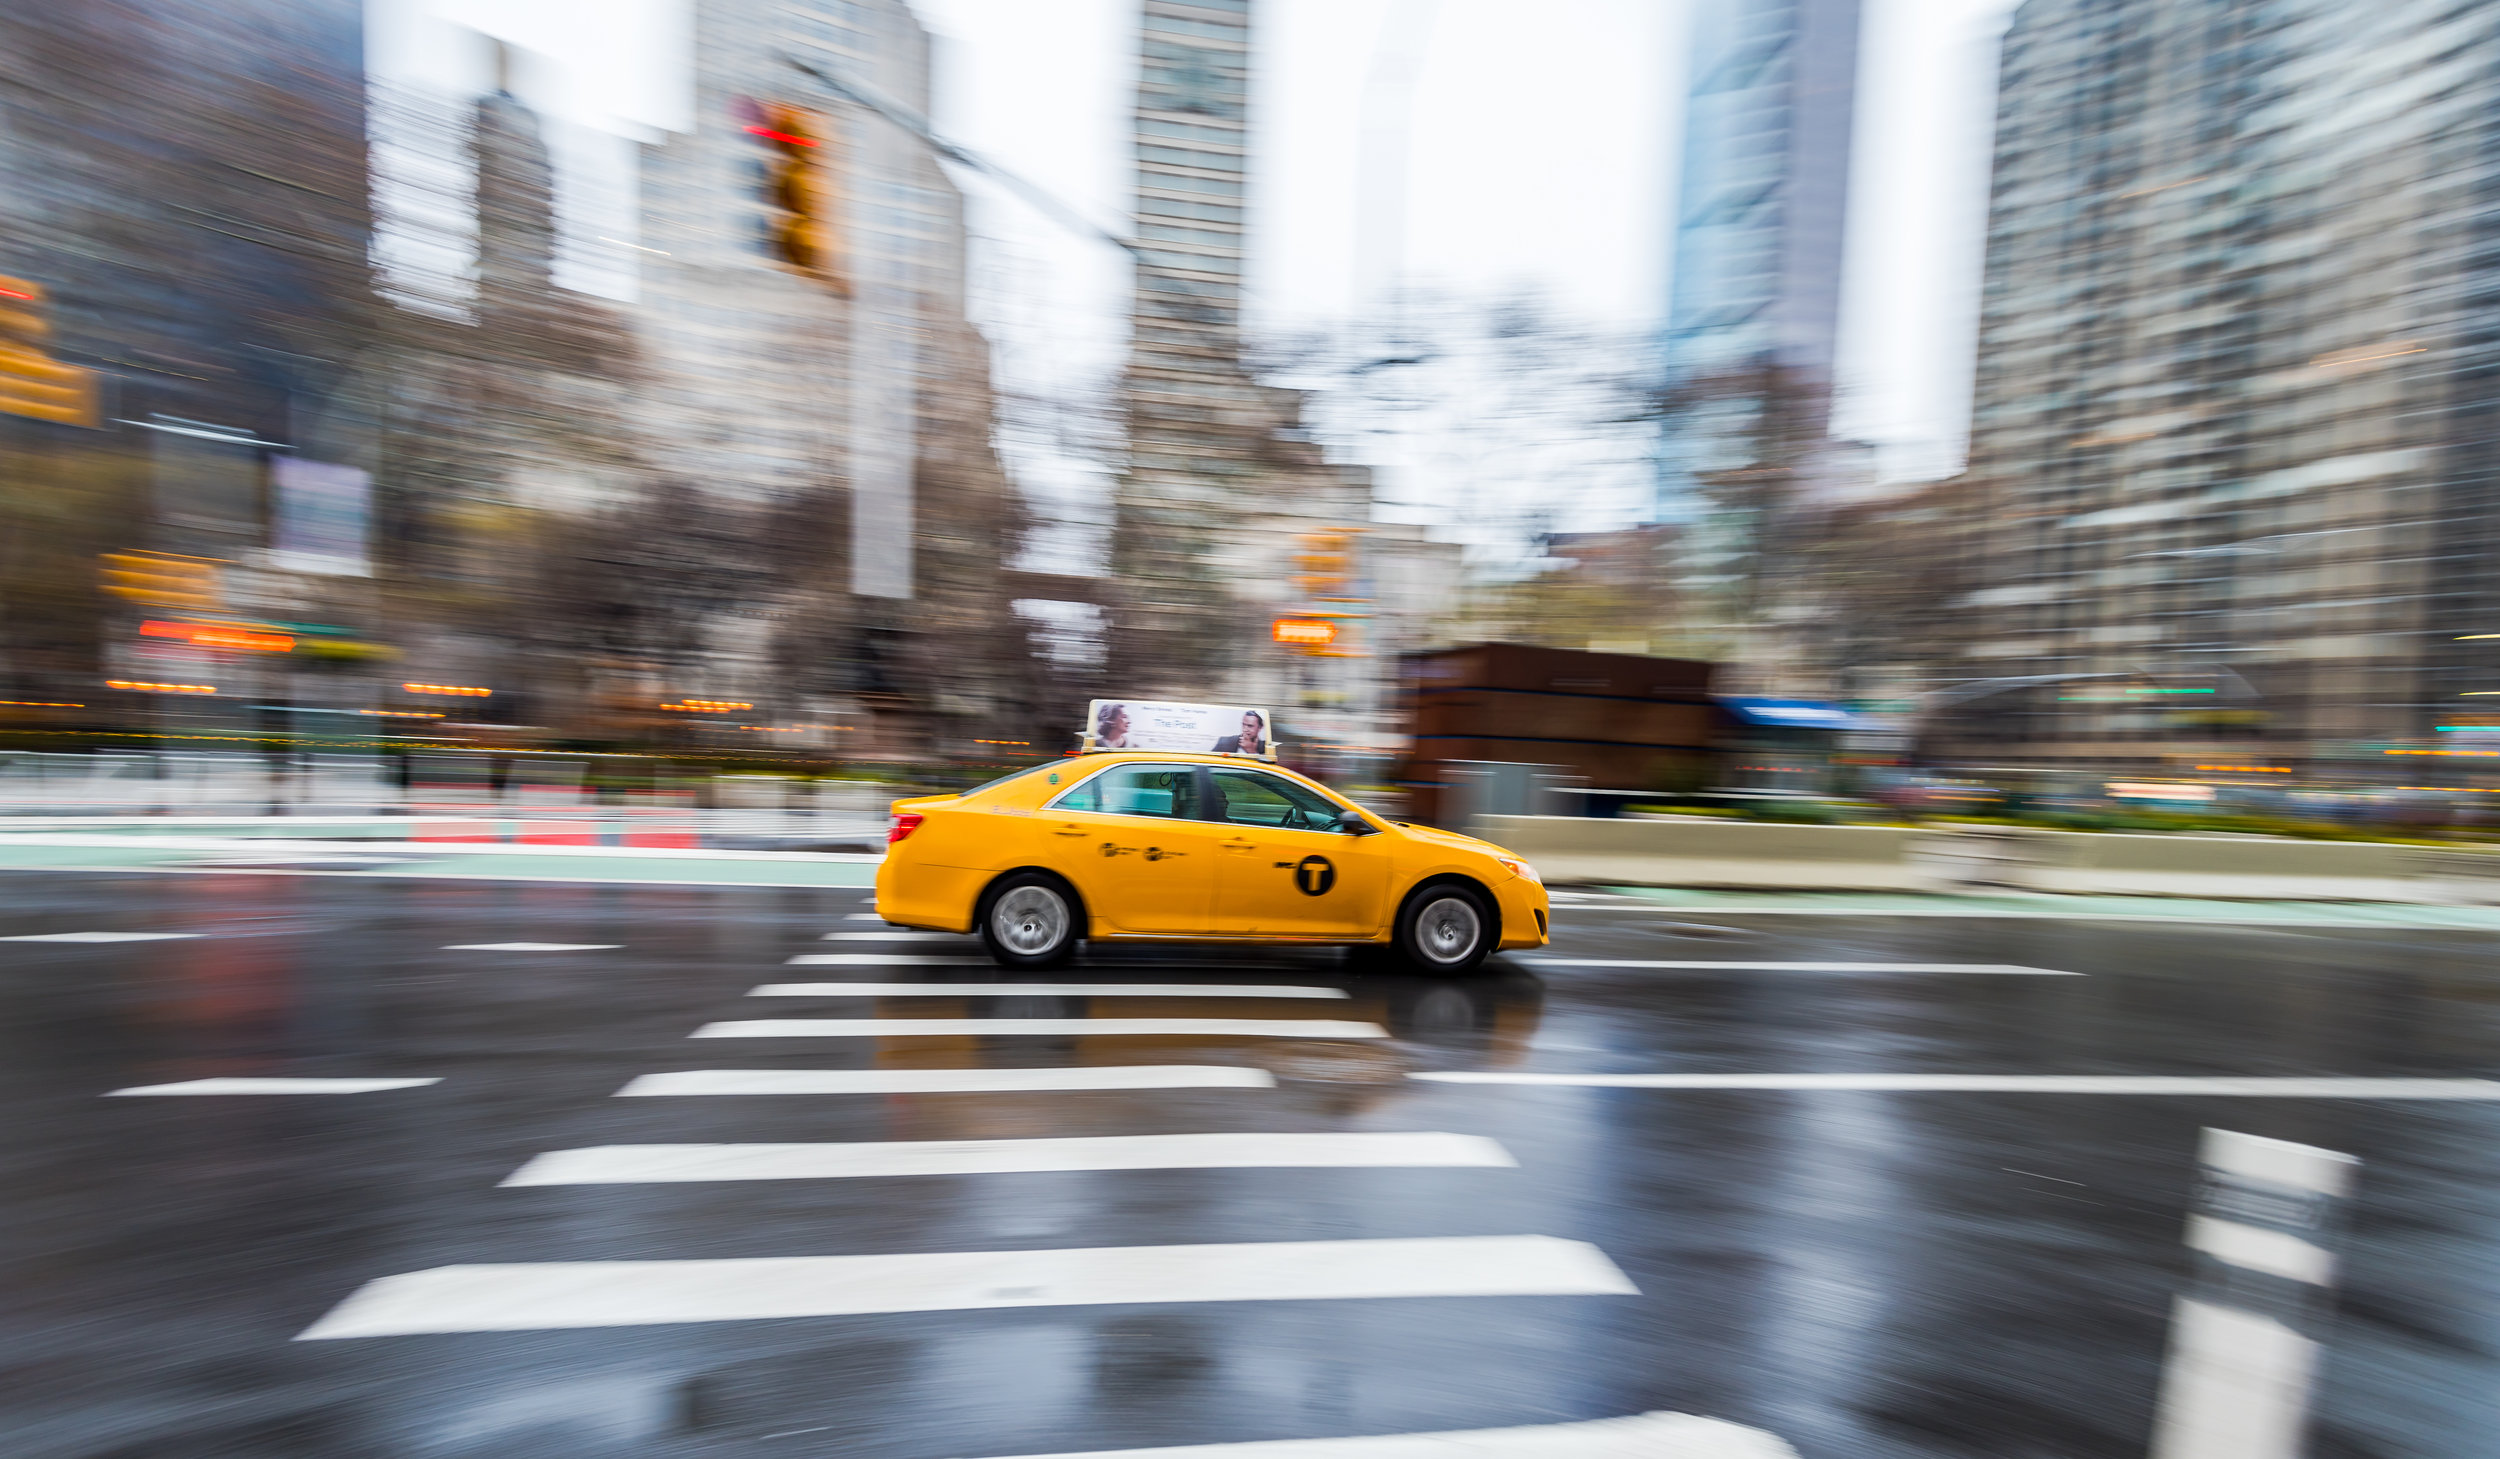
If you are new to this technique, do not expect to get a perfect shot in the beginning. You have to keep experimenting with different settings until you get the best result. Also using this technique, you might not get a super sharp result but panning allows you to shoot the moving subject smoothly and at the same time gives you the feeling of the motion. If you do it right, you will get the subject relatively sharper than the motion blur background, which is the main idea of this technique to give a sense of the moving subject. Here is something I tried during my recent visit to New York City.

New-York-Traffic.jpg

Exposure : 1/15 sec     Aperture : f/22     Focal Length : 16mm     ISO : 200

It's not as perfect as I would like it to be but I will try next time and keep practicing until I get the better result.